Mini Golf Putting Surfaces: What Commercial Buyers Should Compare
Start with a playable sample of the proposed installation. A colour swatch leaves the seams, cup transitions and replacement work out of the picture. Those details belong in the buying decision alongside the playing material and its price.
What does the surface quotation actually include?
Two offers can use the same broad description—carpet or artificial turf—and leave different work to the buyer. Read the specification beside the drawing: playing material, backing, support, fixing, seams and the finish where the surface meets a cup or obstacle. The quotation should make those responsibilities visible.
The material needs a product name and a version. For a textile or synthetic-grass surface, the accompanying sheet can identify its fibre construction, backing and any required infill or dressing. A hard surface needs its specified finish. Keep the labelled sample with that document so the colour chosen at a meeting stays connected to the product ordered.
There is no single material description covering every form of mini golf. The German Minigolf Federation’s course atlas, for example, distinguishes concrete, miniaturegolf/Eternit, felt and other systems. In a commercial quotation, the useful next step is to identify the actual proposed system and the work included with it.
| Part of the offer | Information to request | Check against |
|---|---|---|
| Playing layer | Exact product, finish and supplied condition | Labelled sample and product sheet |
| Backing or support | Proposed build-up and receiving surface | Assembly drawing and site review |
| Fixing and joints | Materials, seam locations and edge details | Installation method and trial sample |
| Hole and obstacle interfaces | How the surface meets cups, borders and fittings | Actual selected equipment version |
| Maintenance and replacement | Instructions, spare code and repair scope | Operating plan and written terms |
A scope-comparison checklist, not a statement that every surface has the same layers or installation requirements.
A sample needs to answer a playing question
Imagine receiving a neat tabletop swatch from one bidder and a complete demonstration hole from another. You can discuss colour and finish with both. You cannot yet compare how their finished installations play. The sample formats leave different parts of the proposal untested.
A more useful demonstration reproduces the offered support, fixing method and playing layer. Where the design includes a seam or a transition into the target, include it in the trial area. Have the supplier identify temporary demonstration parts; that distinction matters when the purchase drawing is revised.
Decide what you want the sample to resolve before the demonstration. Perhaps the concern is the roll across a connection, the approach around an obstacle or access for replacing a section. Keep a note of the assembly shown and the answer reached. The tabletop comparison is an illustrative buying situation, rather than a reported test of two products.
Follow the ball through the proposed course
Begin with the balls planned for the venue and mark the start positions. Use the same sample condition and a documented release method when comparing observations. Hand-putted shots include the player’s variation; a supplier-agreed repeatable release can help when the question is the behaviour of the assembly itself.
Then follow the routes that matter in your design. A straight roll, a turn and an obstacle approach answer different questions. Note where the ball finishes and whether a change in direction belongs to the intended game. On a deliberately sloped section, following the slope may be the task. At an unexplained change near a joint, the assembly needs a closer look.
| Trial task | Keep consistent or record | Observation to discuss |
|---|---|---|
| Straight roll | Ball, start, release method and sample condition | Path and stopping position |
| Turn or obstacle approach | Intended route and equipment geometry | Whether the result matches the game task |
| Cross a proposed joint | Actual joint assembly and direction of travel | Any observed change at the connection |
| Approach the target | Cup or target interface and surrounding finish | Completion and permitted ball recovery |
| Inspect after agreed cleaning | Supplier’s stated procedure and sample condition | Result and any work still required |
Proposed project observations only. Agree the method and acceptance criteria for the actual installation; no numerical performance claims are made.
An observation sheet needs enough detail to repeat the trial: sample reference, ball, starting point, direction, result and any adjustment between runs. Agree the acceptance criteria with the supplier and responsible project team. This is a practical project trial, rather than a certified speed test.
Bring the sheet back at handover and repeat the agreed routes on the installed course. Keep any differences beside the original sample record, where the installer and venue team can work through them together.
The drawing should show the awkward connections
Look closely at the places a broad material description misses: seams through a ball route, an edge beside a standing position, the surround of a cup and the junction with an obstacle. Locate them on the drawing. The pre-installation layout guide helps connect those details to the positions players and staff will use.
Assign the receiving-surface check, preparation, fitting and final inspection to named parties. The installer needs the preparation criteria and fixing instructions for the system being supplied, including relevant waiting or curing requirements. These details also give the venue team a clear basis for handover.
SYNLawn’s installation guide specifically calls for special instructions for putting-green installations. For your purchase, obtain the instructions belonging to the selected equipment and surface. A detail intended for that manufacturer’s landscaping products should remain within its stated application.
What will the team do when a section needs attention?
Use the demonstration to walk through a normal cleaning task. Where does the employee stand, which tools are permitted and how is the hole taken out of use? Keep the manufacturer’s procedure with the operating records, including the products it permits for the spills or debris relevant to your venue.
For its own backyard putting greens, SYNLawn’s care advice includes brushing, debris removal and checking infill. That is a useful example of a care sheet naming actual jobs. Your selected surface needs its own procedure, especially if it has a different construction.
A repair conversation should end with a defined scope. Establish how a local defect is assessed, whether a patch or a complete section is replaced and which product code is ordered. Include access, isolation and the conditions for reopening. Those answers are more useful to the operating team than an unqualified description of the material as durable.
Put the same work into both prices
Bring material, supporting work, fixings, installation, delivery, training and proposed spares into the same comparison. Add removal and refitting when discussing replacement. An attractive price for a roll leaves a different decision from an installed price covering the specified interfaces.
If an offer includes a life-expectancy or warranty statement, read the written terms with the use conditions and exclusions. Base your budget on the actual proposal and operating plan. Material names and photographs do not supply a replacement date.
Before ordering, put the selected specification, labelled sample, drawing revision, trial record and care instructions together. List the remaining handover checks and who will resolve them. For the wider equipment and construction scope, continue with the modular-versus-custom comparison.
Compare a surface as part of your course proposal
Send your floor plan, intended playing format and maintenance arrangements. Request the proposed surface specification and installation scope alongside the equipment drawing.
THE COLLECTION
Products discussed in this guide
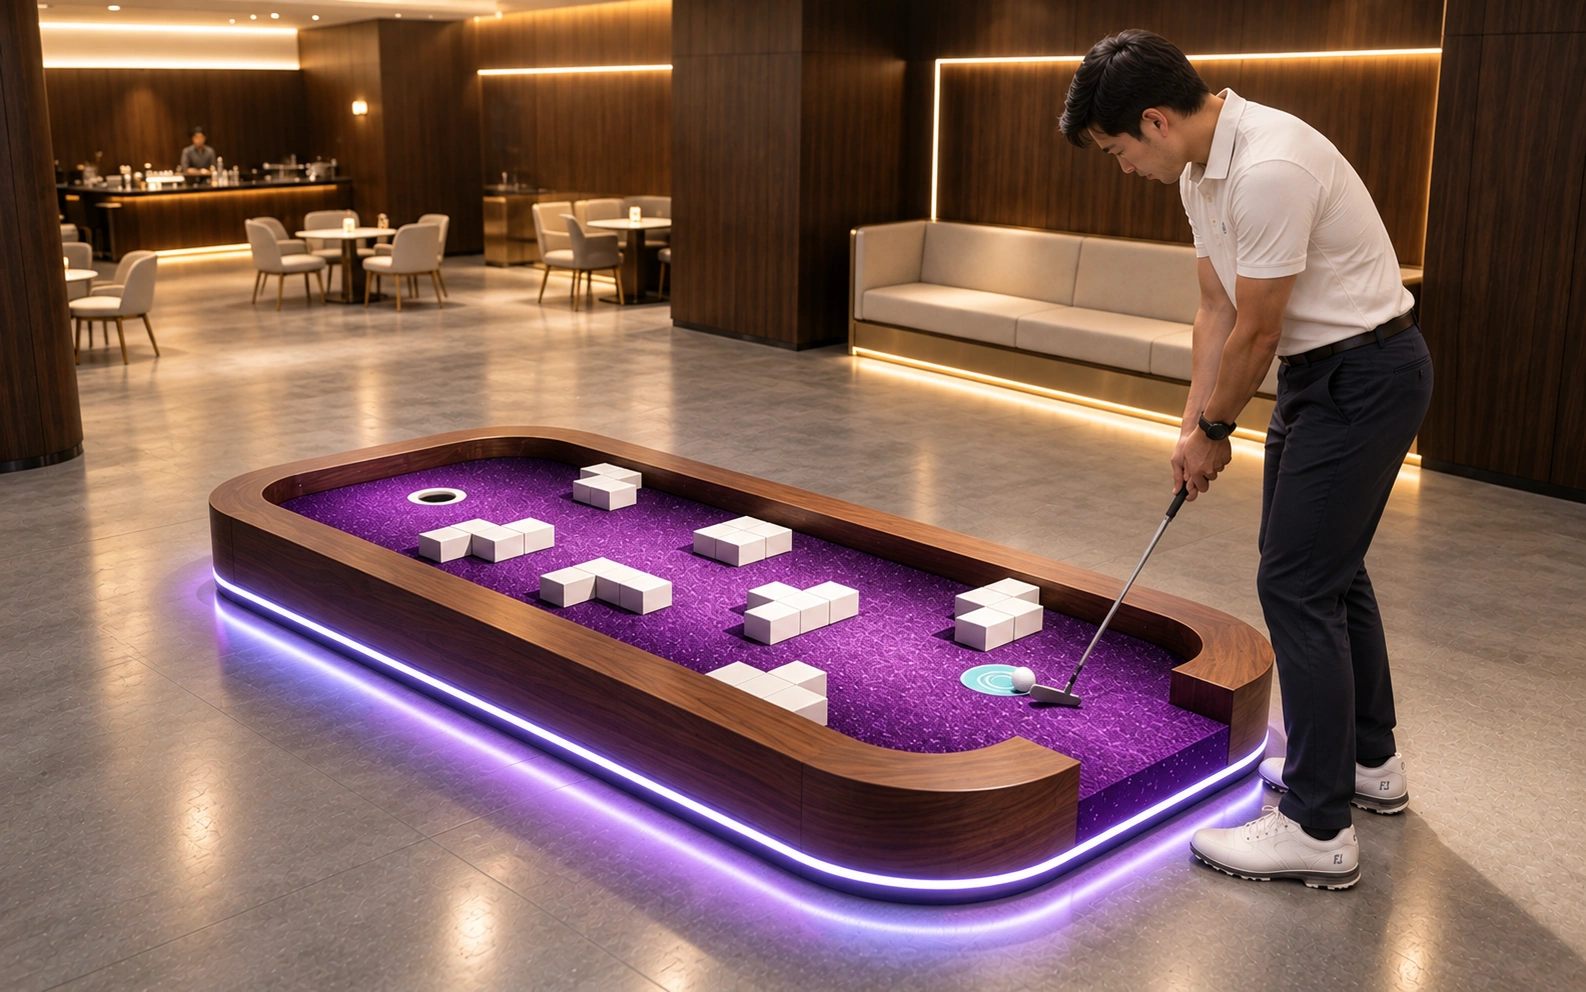
Cube Maze Golf Hole
Find a route between the cube obstacles before putting. Keep each shot controlled to navigate the layout and reach the hole.
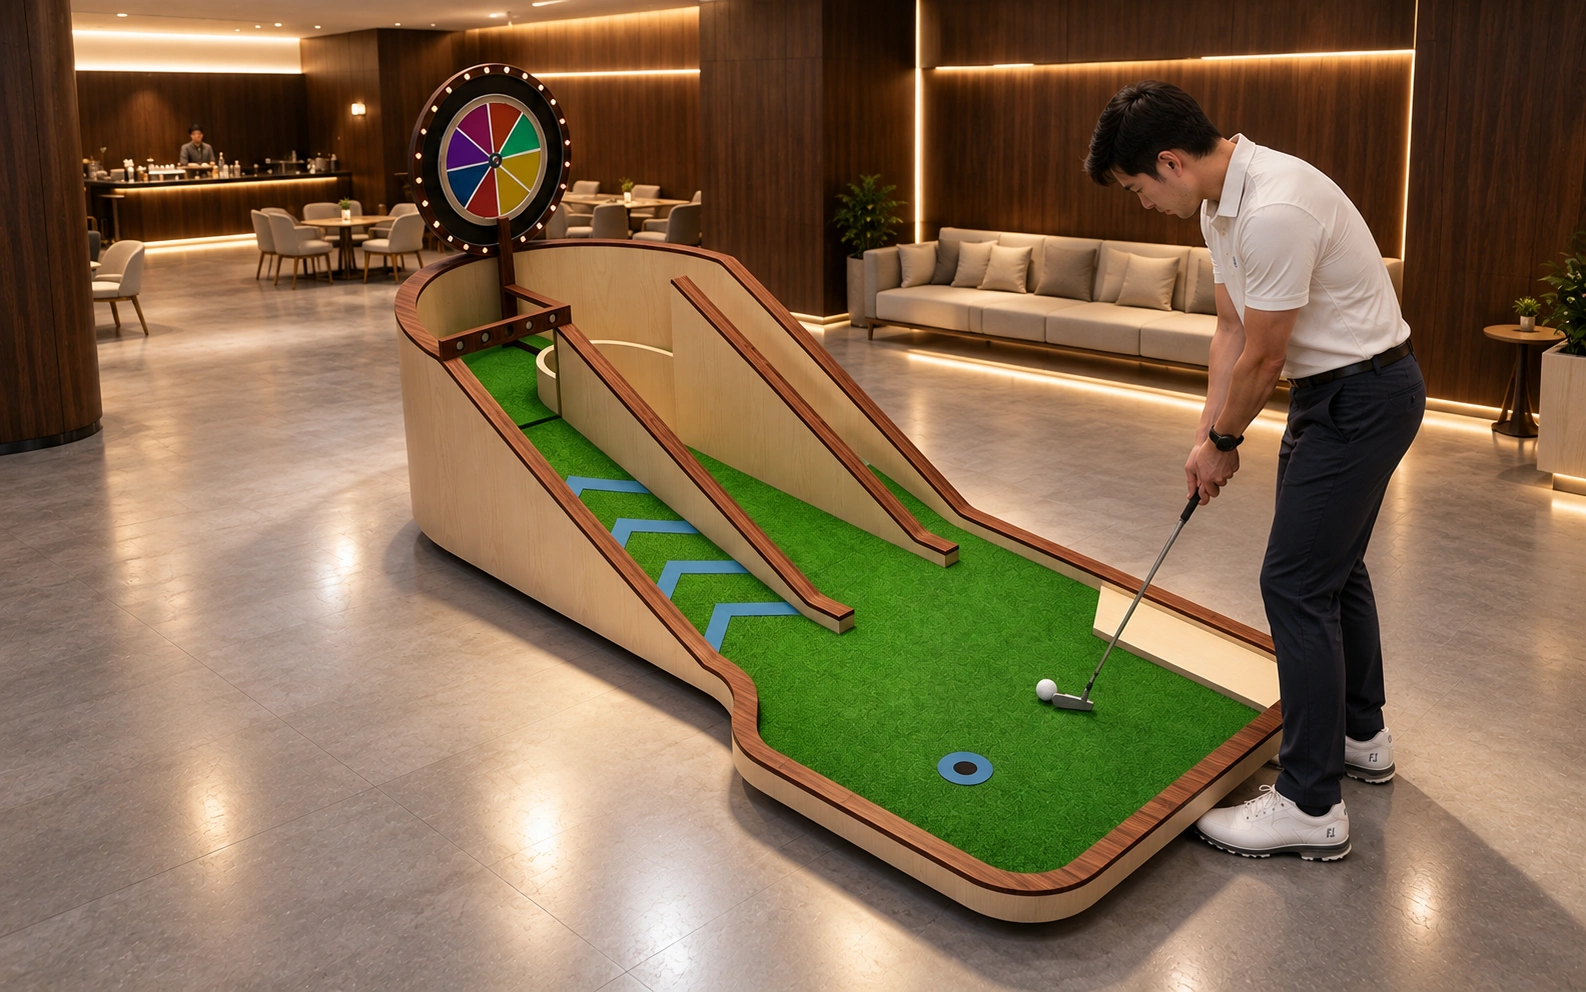
Curve Block Golf Hole
Plan a line around the blocks and along the curved sections. Adjust each putt to stay on route and reach the hole.
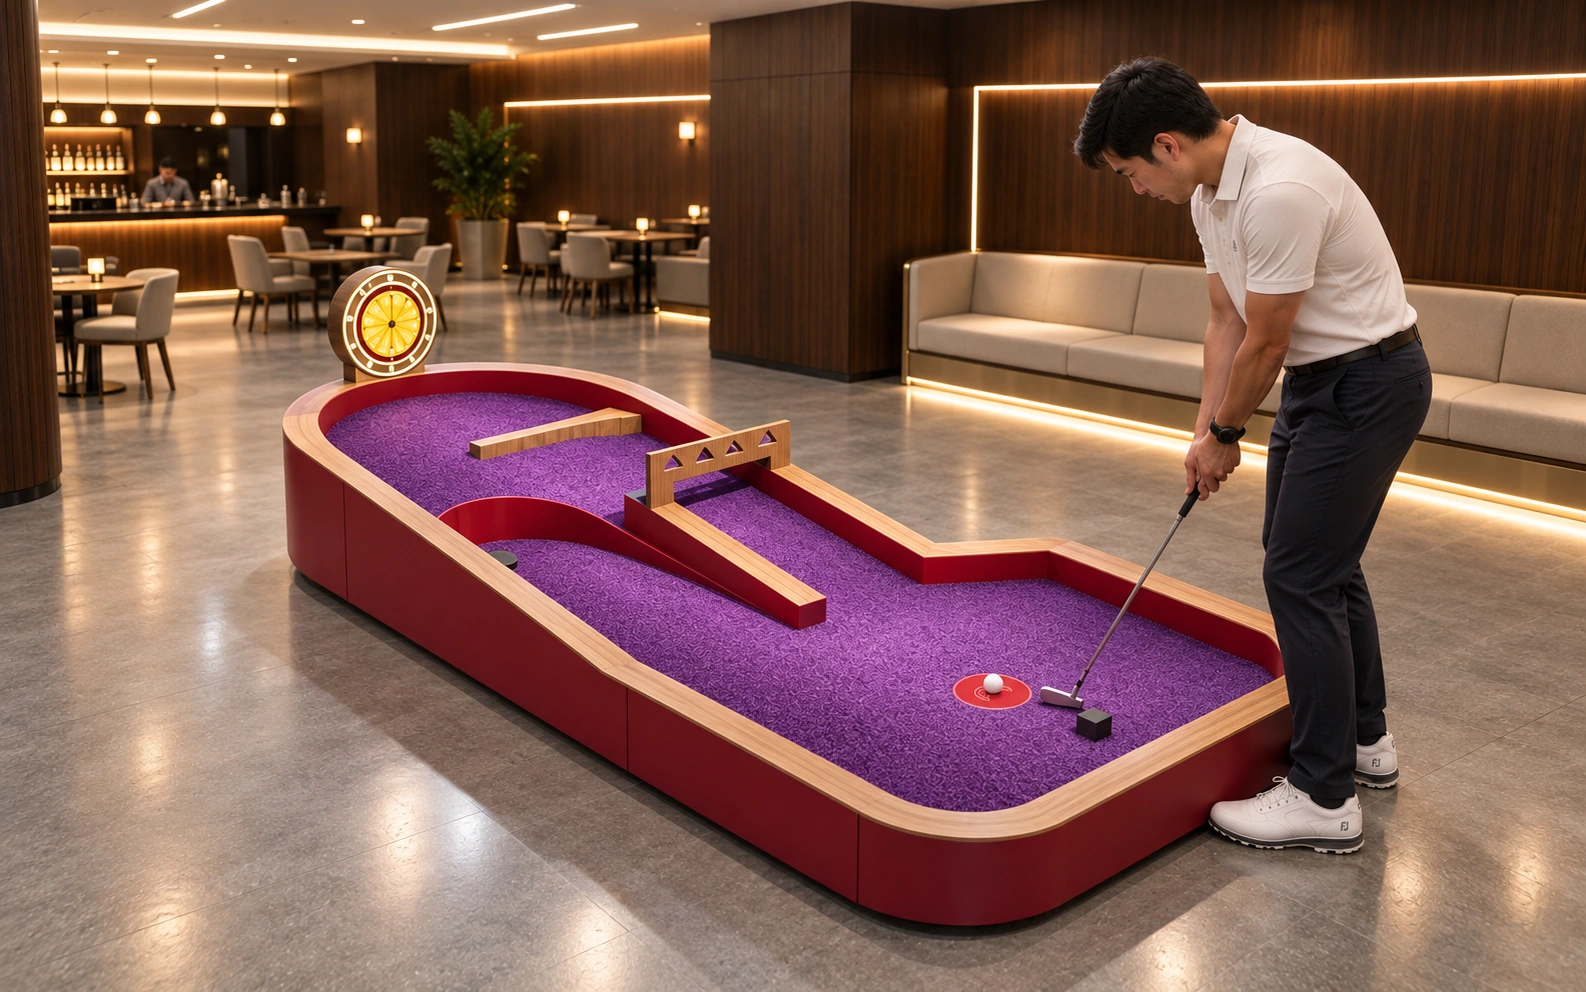
Balance Challenge Golf Hole
Keep the ball on the narrow straight fairway. Use small adjustments to direction and speed to pass the challenge section and reach the hole.